How Machine Vision Lighting Affects Reading Stability
Summary: Learn how ring lights, coaxial lights, bar lights and panel lights influence code reading stability, contrast and machine vision inspection reliability.
Why lighting decides reading stability
In machine vision projects, lighting is often the difference between a stable reading station and a line that works only under ideal conditions. A camera can only analyze the information that reaches the sensor. If the light creates glare, hides an edge, washes out a printed code or changes with the environment, the software may receive a different image every cycle. That is why lighting should be treated as part of the reading system, not as an accessory added at the end.
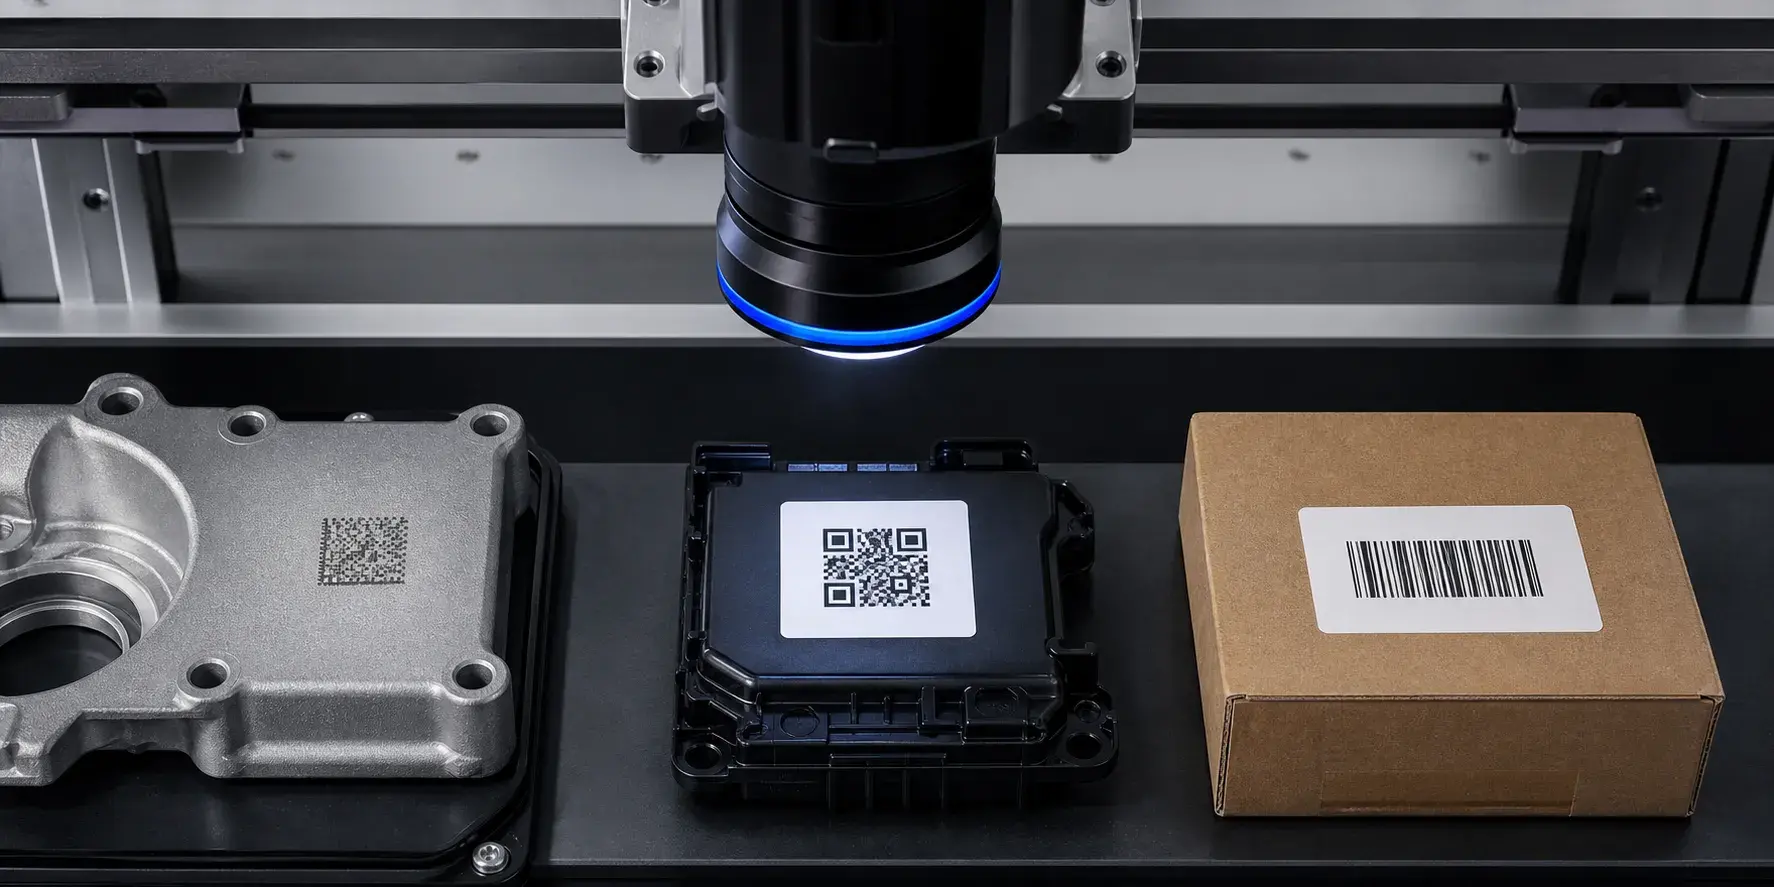
For code reading, stable lighting helps the algorithm separate the target code from the surrounding material. Barcodes and QR codes depend on clear transitions between dark and bright modules, while DPM codes on metal or plastic may rely on small height changes, engraving marks or laser contrast. The same code can look excellent under one angle and almost invisible under another.
Common lighting choices
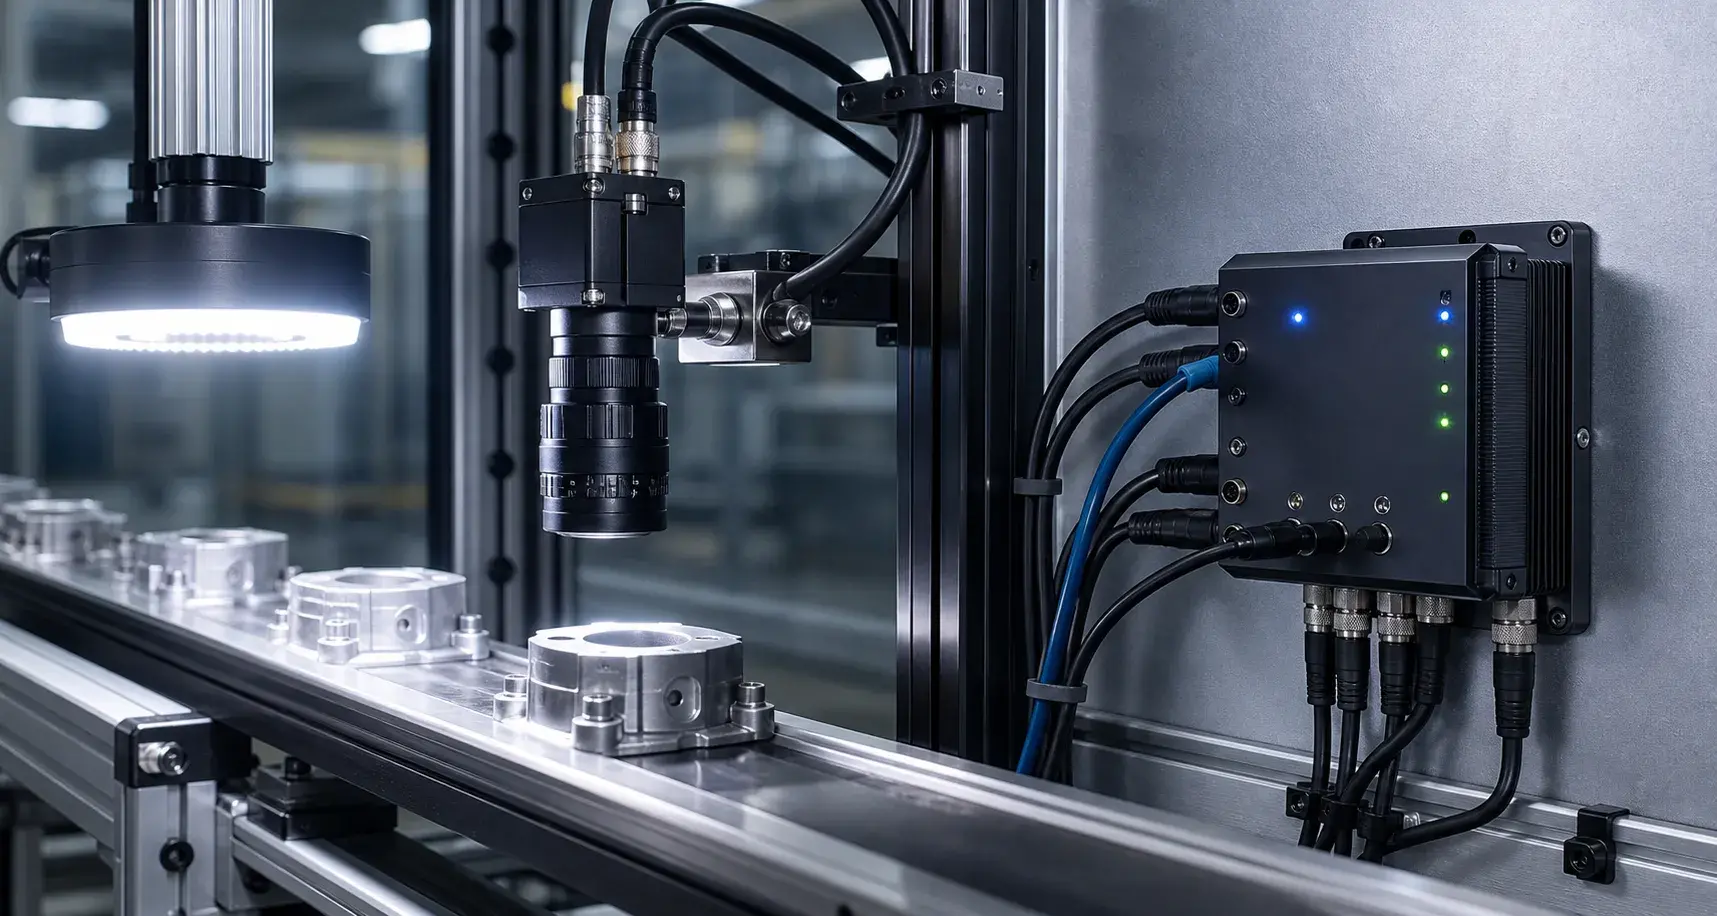
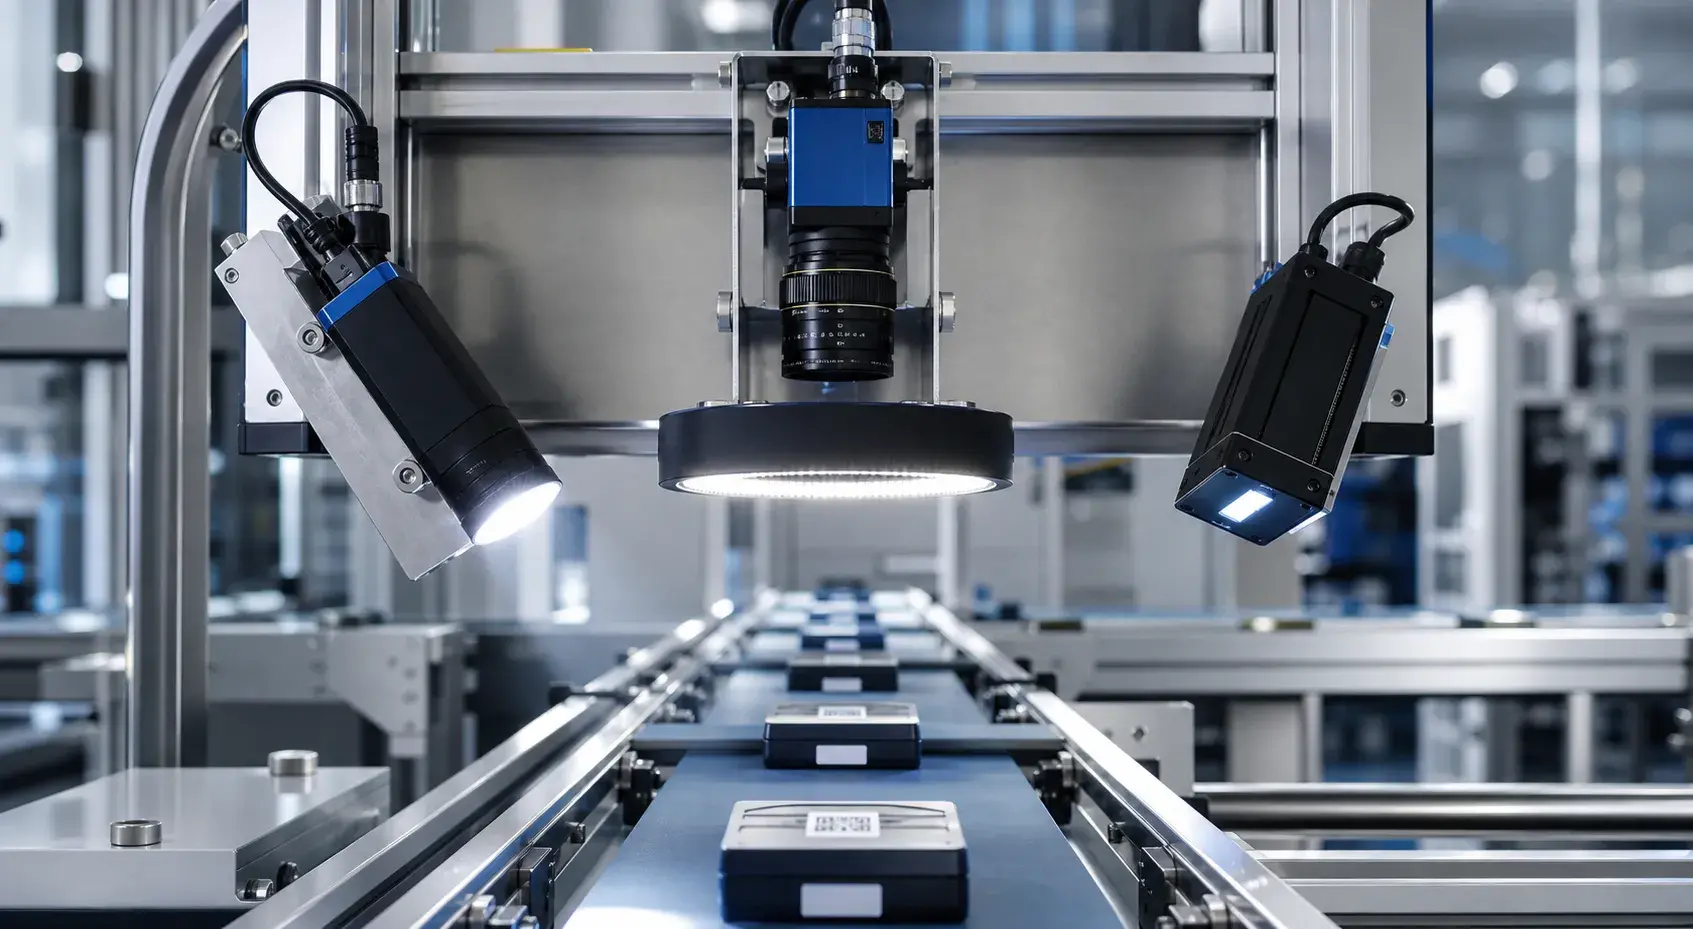
Ring lights are useful for compact inspection stations because they provide even illumination around the camera axis. They are often selected for labels, general part checking and applications where the working distance is moderate. Coaxial lights can reduce shadows and reveal flat printed features on reflective surfaces, making them helpful for polished metal, films and flat packaging. Bar lights create directional contrast and are useful when edges, scratches or surface texture must be emphasized. Panel lights provide broad area illumination, especially for larger fields of view or silhouette-style inspection.
The choice also depends on color. White light is flexible, red light can improve contrast for some printed marks, and blue or green light may work better on selected materials. Brightness is important, but more light is not always better. Excess brightness can create hot spots and reflections, while insufficient brightness forces longer exposure and increases motion blur.
How to test before final selection
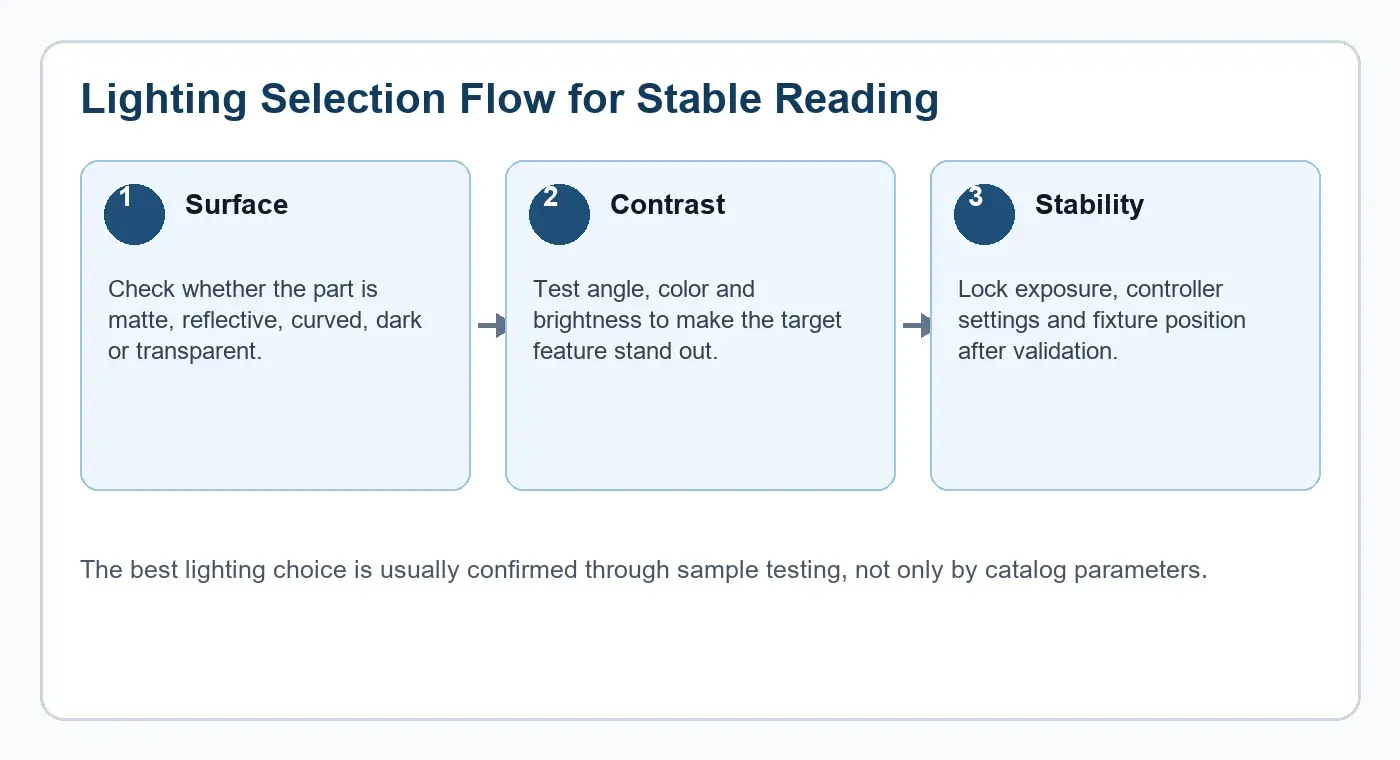
A practical lighting test should use real parts, real working distance and the expected line speed. Engineers should capture images at several angles and brightness levels, then compare decode rate, focus, glare and contrast. If the target changes between batches, the test should include good parts, worn parts, scratched surfaces and marginal codes. This helps identify whether the selected light is forgiving enough for production.
After a light is selected, the setup should be locked mechanically. The camera, lens, light and controller settings should be recorded so maintenance teams can restore the same condition later. This small discipline prevents many on-site stability problems.
Conclusion
Reliable reading starts with a repeatable image. By choosing the right light type, validating real samples and controlling brightness through a proper controller, manufacturers can improve code reading stability, reduce false rejects and make inspection stations easier to maintain.
Practical Checklist
- Use real samples before confirming light type.
- Record camera, lens, light and controller settings.
- Retest marginal parts, reflective surfaces and damaged labels.